The Second Wreck!
-
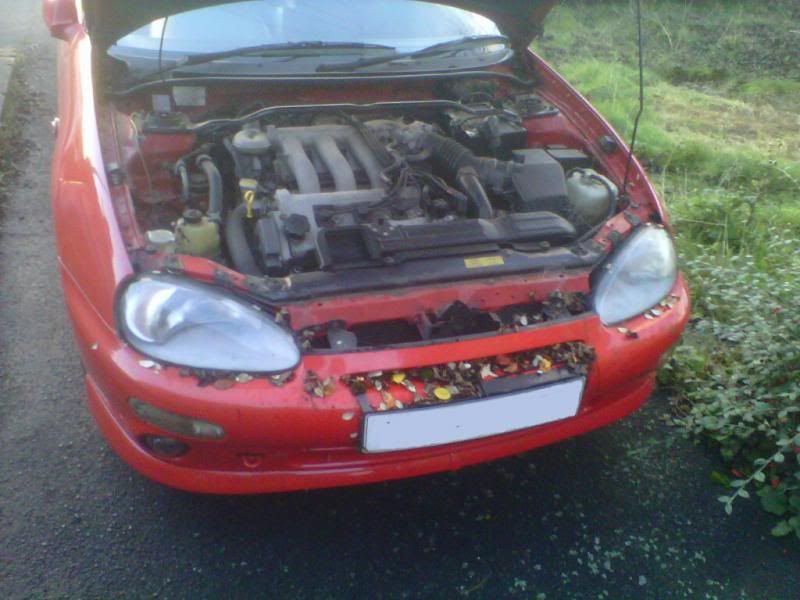
Been around for a while so time to introduce the car. Brought off my sister in a bit of a state but not too bad (the car!.) She had been parcked on the front garden for around 8 months and looked like she had been consumed by the hedge!

I chedked all the fluids, charged the battery and turned the key - no problem for the mighty Mx-3 8) Reversed out and de leafed :
Gave her a jet wash, sponge bath and fitted a new center exhaust. Off to the mot for 12 months ticket! :mrgreen:
Gave the old girl some fresh oil, a new oil filter and 3 new wipers as you do. :)
Also had a HKS Mushroom filter in the shed so fitted that for a bit of V6 induction noise - Sounds good but needs more volume!! (is this because of the AFM?)
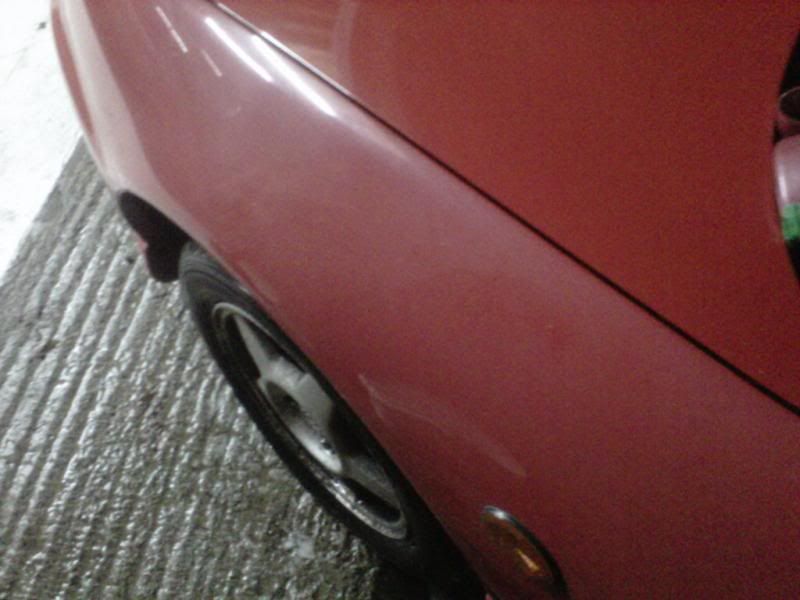
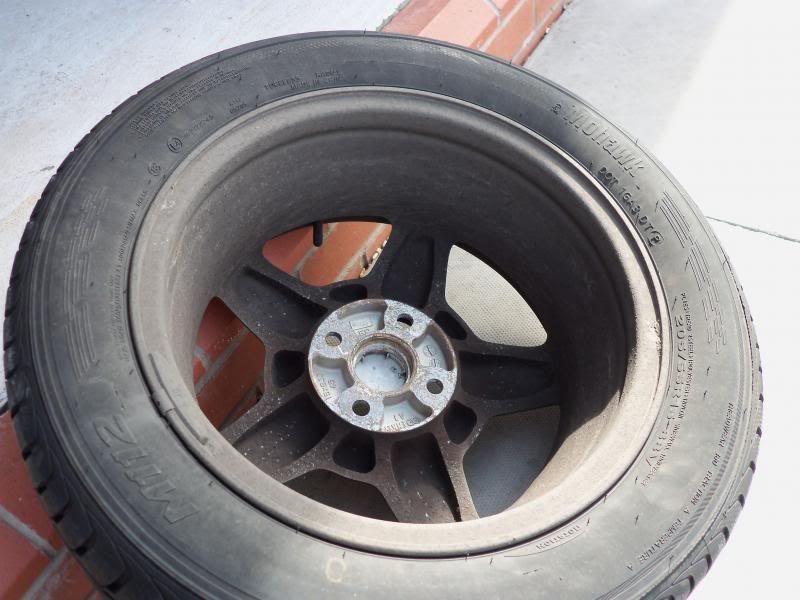
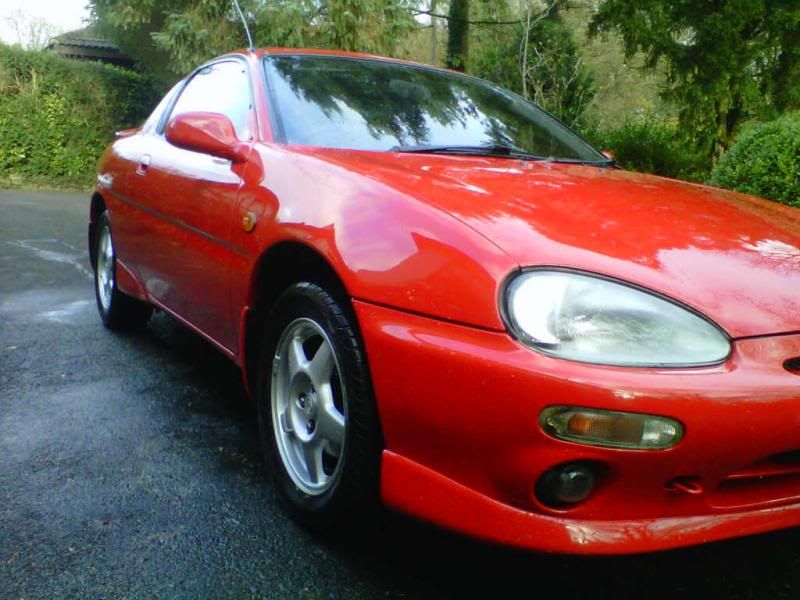
Back at base the paintwork was looking rather worse for wear. My sister had neglected the car, aving not been washed for 18 months. The wheels where covered in brake dust which had eaten into the wheel and the rear bumper was parting company with the laquer. There where a few scrapes on the rear bumper which I touched up and look ok now :)
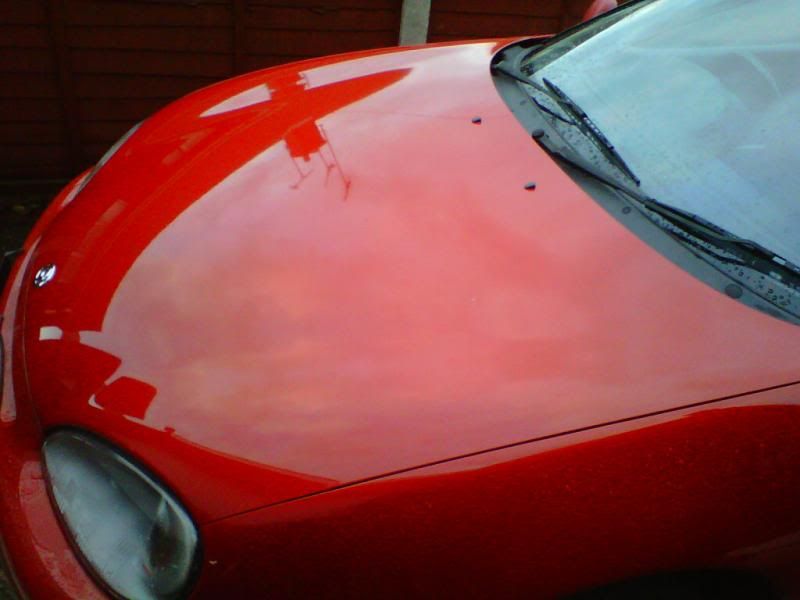
I had previously clayed the bonnet and waxed it so this only needed a light going over. Here is the before and after of the wing (& finished bonnet) :
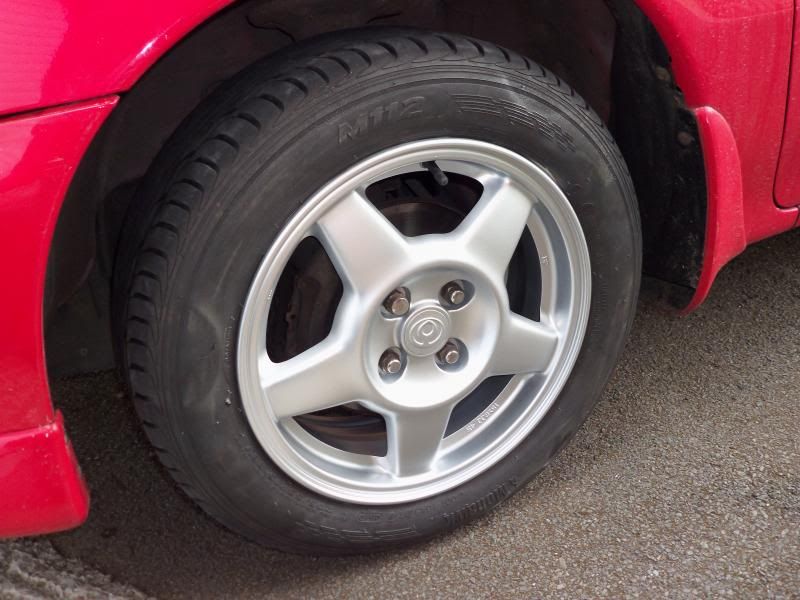
Also had a go at the first wheel yesterday. Took wayyyyy longer than I had imagined but came up just as I wanted. Ok yes I got some overspray to get off and the tyres need black!! :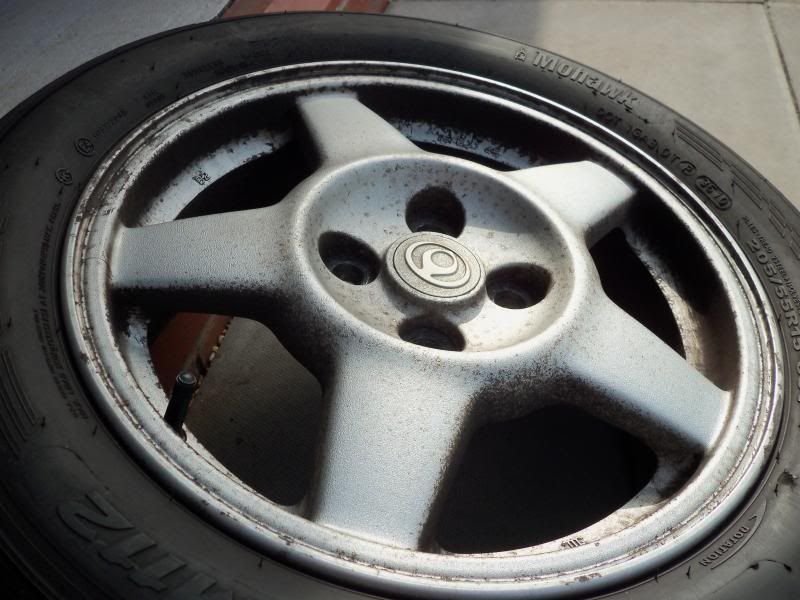
Anyway, thats all for now. Got plenty left to work on now (as in the other 3 wheels :lol: ) Thnaks for looking :cheers:
-
That looks in pretty good nick, judging by your bonnet slam panel.
How did you clean your wheels up?
-
Thats good to know, cheers :cheers:
Basicially emery cloth!! (then cleaned with thinners -> primed & painted)
I had tried all sorts of different cleaning chemicals with the wheels hoping that I could get them looking reasonable that way. They where so far gone that it was time for some tough love!
-
looking good
-
good work :)
-
Been a while for updates so since the last one I have :
- Reconned the other wheel (phew, half way there!)
- Fitted new Thermostat & Gasket
- New Coolant
- Done another oil change
- Fitted new ARB Drop link
- Reconditioned front wipers (no more patcheyness!)
- Regreased both front window runners & also sunroof ones.
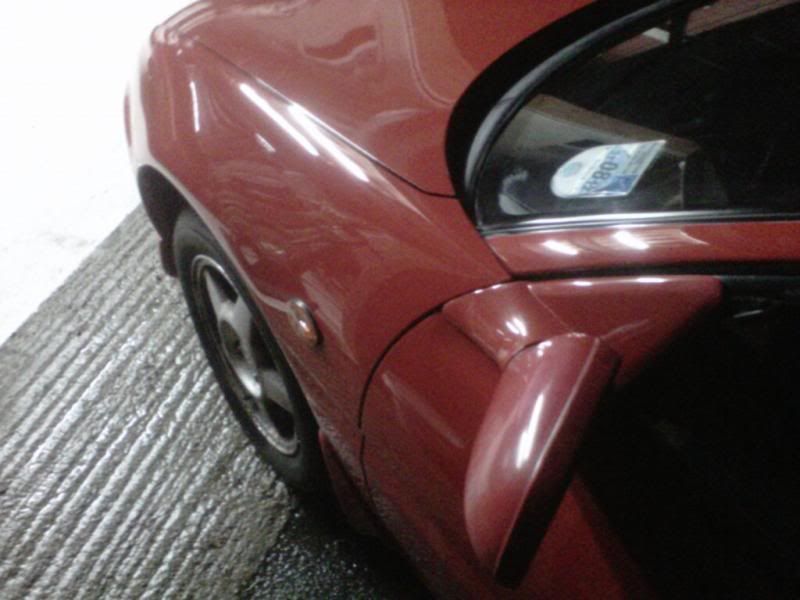
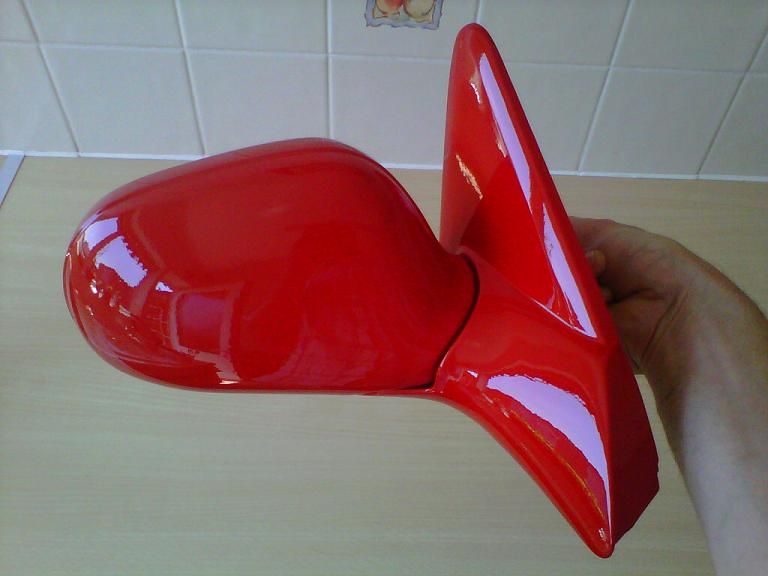
- Repainted both front morrors (off the car job)
- Bled the brake system
So pleased with progress and car is looking better all the time :D
Will hopefully get around to doing a write up for the ARB swap, door card removal & mirror removal (& repaint) if anyone wants it?
-
Both the mirrors where a bit sad, spotty, pink & missing paint from a vein attempt to bring them back to life :
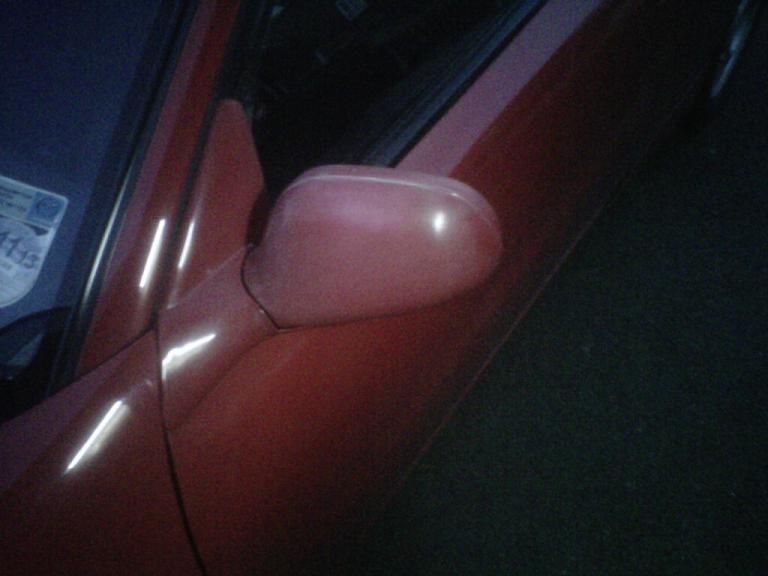
So in the end I took them both off the car and did a proper job :
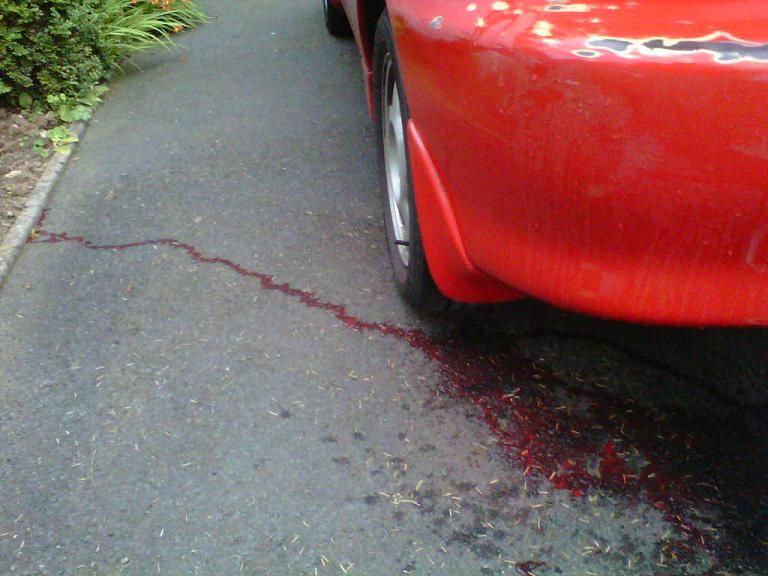
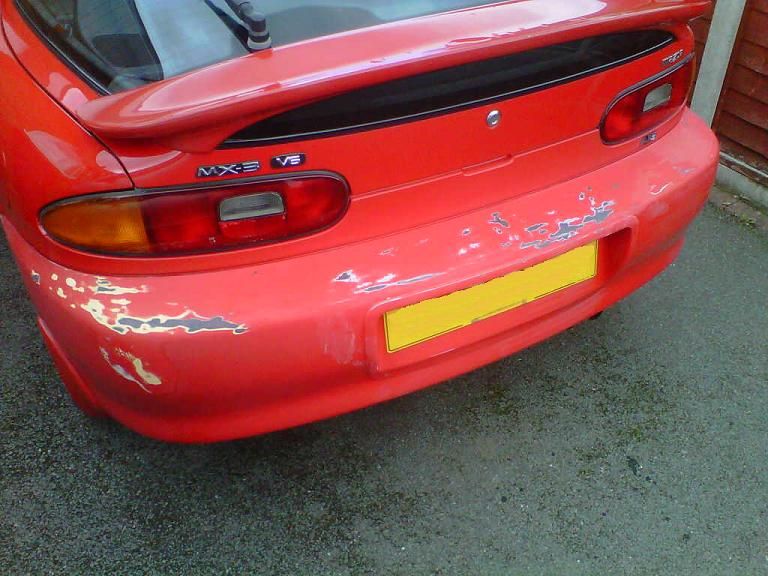
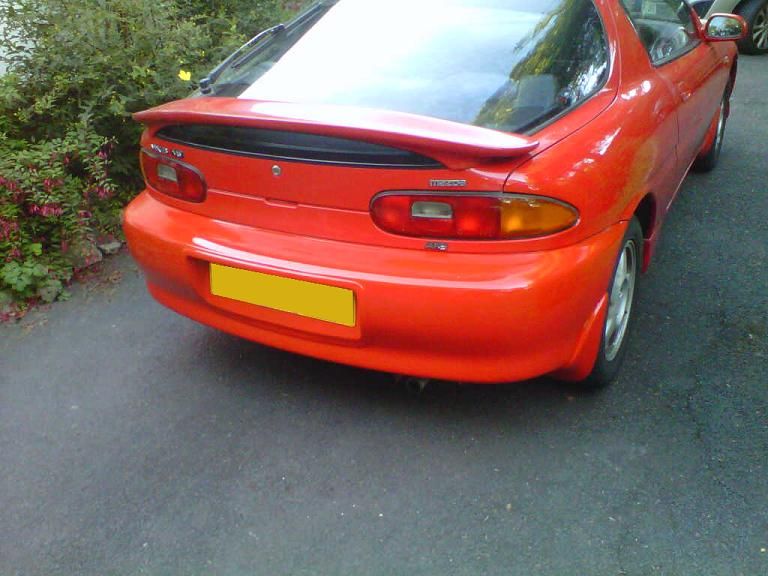
Now I have moved onto the rear bumper. Not surprising the arse of the car had been subjected to a spanking :
Scuff ;

Bump ;
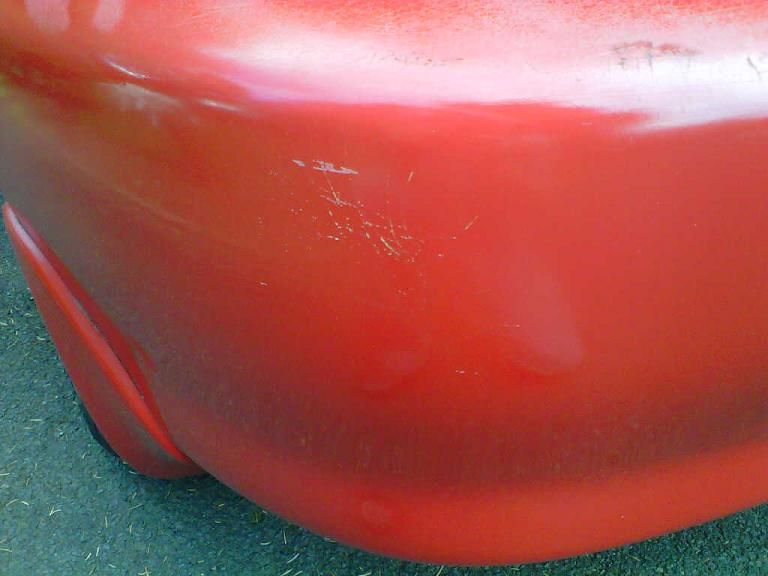
Teenagers face ;
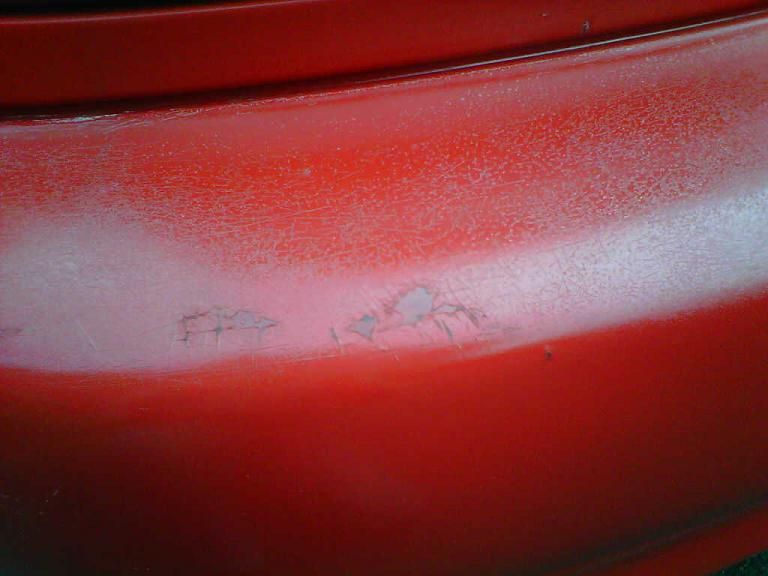
laquer peel ;
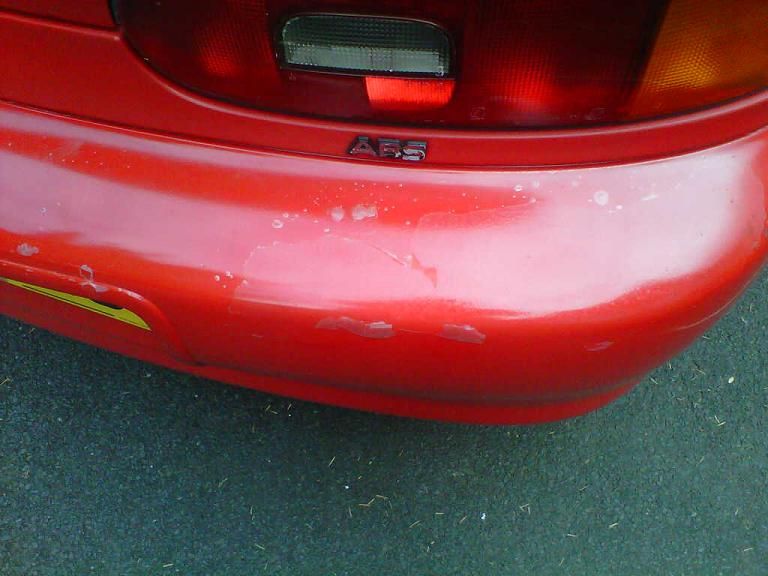
The car didnt like it and bust a blood vessel in the process! ;
Shes now ready for primer and a final sanding ;
-
Nice to see a red one getting some good paint treatment, mirrors look really good man and those wheels look really spanky. Keep up the great work :D
-
Small update, decided as im possably going to the Nurburgring then gearbox oil could do with being new and fresh (as fresh as smelly gear oil can be!) So another job done.
Also got round to putting some primer on the bumper, and after with another colour so I could sand it back and see any high and low spots) :
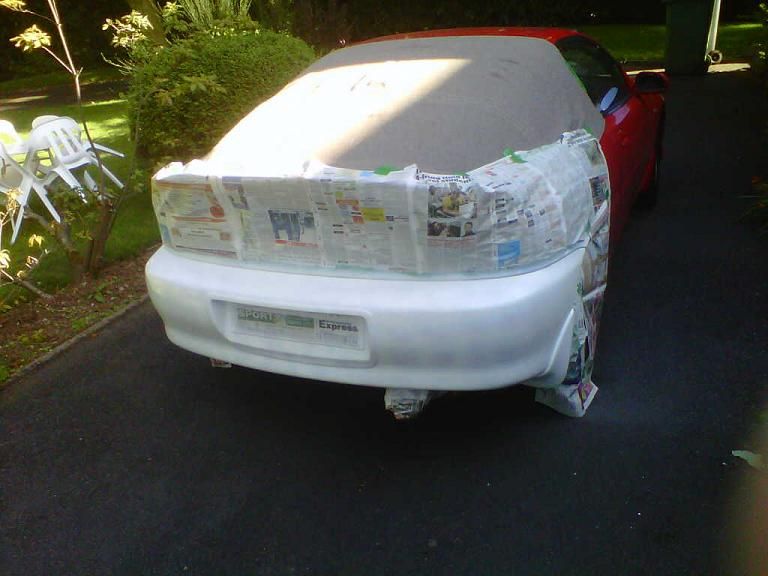
When I was happy with that I gave it a proper coat of grey primer :
And to finish, one thing I have been meaning to do for ages was get some kind of carputer installed. Borrowed my sisters tab to see what the size of a 10.1 would be like :
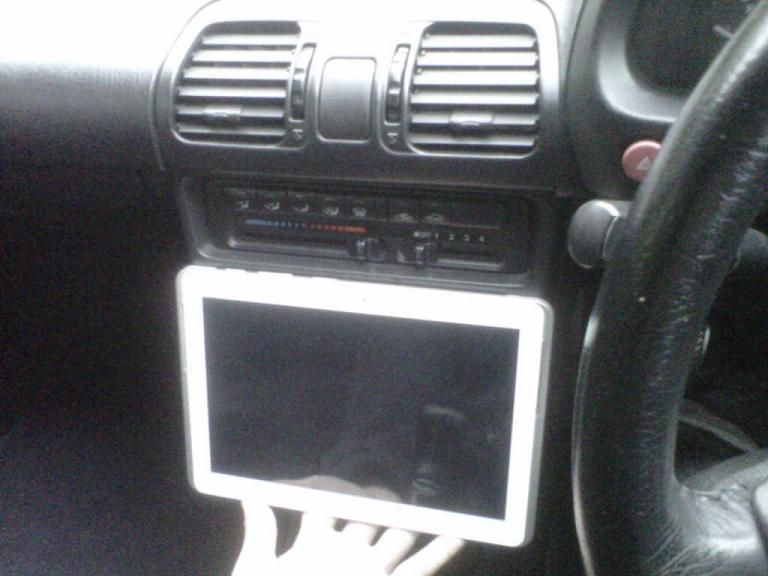
Little on the large side I think!! :lol:
-
Yeah, thats what the missus keeps telling me. :rofl:
–
the cars really coming on, keep up the good work.
-
I like where this is all going, I love the red cars I just can't own one :)
-
@506c8fac41=ukmx3admin:
Yeah, thats what the missus keeps telling me. :rofl:
–
the cars really coming on, keep up the good work.
Hahaha yeah, I wish mine did too :lol: :imout:
Thank you, beeen on egay looking for a reasonable tab, not going for much difference than new so far :shock:
@506c8fac41=Surgeonasst222:
I like where this is all going, I love the red cars I just can't own one :)
Thanks :) There should always be room in anyones life for a fun red car :cheers:
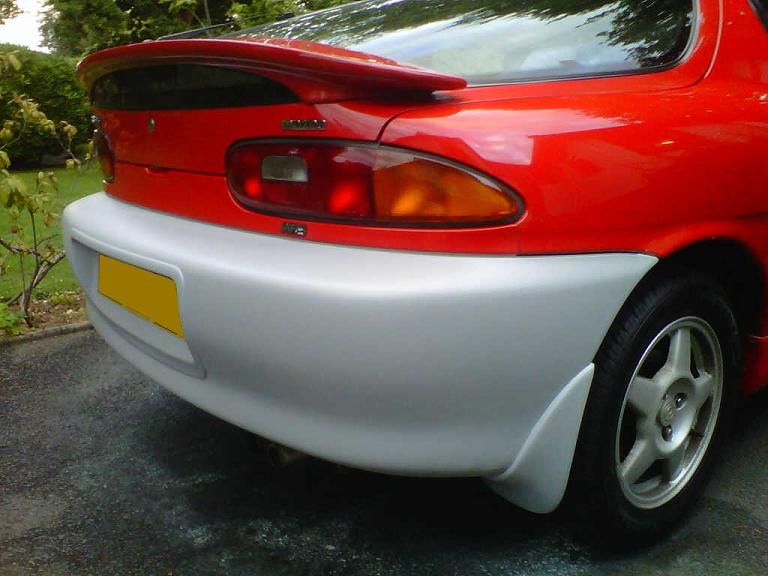
ps : Rear is painted, w&d, buffed & polished now. Kinda miss the grey primer :mrgreen:
-
Just a quick addition today :)
-
Not bad, rattle can?
-
@8582222413=Lori:
Not bad, rattle can?
Yeah all done with rattle cans. I can spray with the proper stuff but was intrigued to see how a rattle can job would work out :)
-
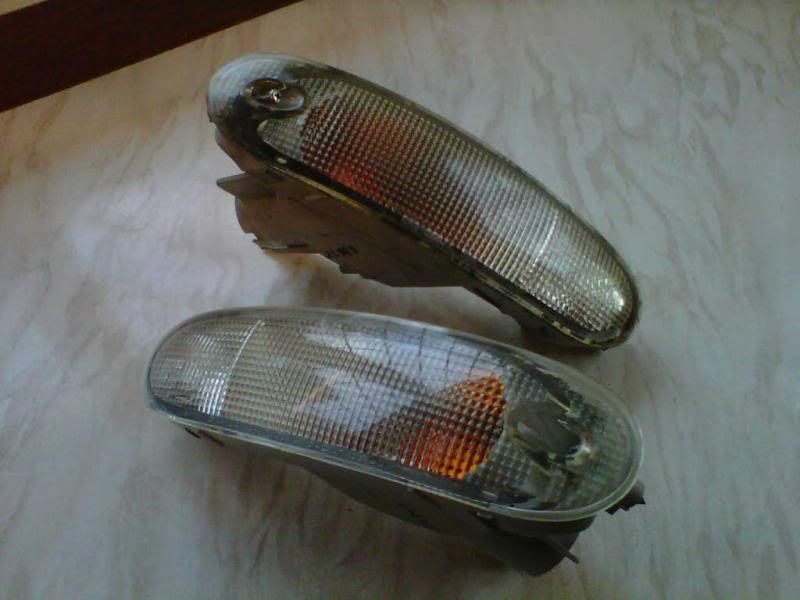
Bit slow on the progress but the car has been preforming faultless and drives really well. Gave her a winter clean and polish and she comes up smashin :
Noticed that the sides had a bit of green filth so removed and given a dam good clean. Also cutted them back to bring back the shine :). (Only 1 done here for comparison)
It's been in my head for a while to have a change of car (or at least downsize as I can'tkeep them all!!) . If anyone is interested then give me a shout. I'm just about to tax and mot her too.
Ricco.
-
Nice work, this MX-3 looks clean!!
I need to respray my wheels on my MX-3. Nice job on the polish.
-
@c406fcfe0d=Be:
Nice work, this MX-3 looks clean!!
I need to respray my wheels on my MX-3. Nice job on the polish.
Awesome, thanks for the kind comments :cheers:
-
Some good fettling there fella :D
I had the exact same 'green mold' in mine and the dull appearance on the lenses? I went one stage further, well two really! I wet flatted them with 800 grit and then 1200 wet n dry, even removing the raised letters on the lens! I then buffed em up with a mop and polish to a glass like finish, I then soaked them in mold and mildew solution and used a long bristle brush to get in the gap that runs all the way around the lens.
After drying I carefully filled this gap with 'White vinyl' paint, allowed to dry and then removed the excess, it gives a nice look and also prevents the green from getting in again! :DI also butchered the 'orange look' from inside with long nosed pliers taking care not to damage the bulb holder molding, I'd heard they can be placed in an oven and partially melted to remove whole lens and then the orange effect removed with a screwdriver? but 'A' how hot do you get em? and 'B' how the hell do you get em watertight when yav done?
You can of course just buy clear ones but that's too easy :shock:
VVVVVery shiny wagon fella, well done.
kev b.
-
Shove em in the oven @ 200 for around 5-10 (On foil)
Remove and pry the lenses off (push in the plastic nips)
Clean it all up.
Push the lenses back on with some sealant.
Done.